How to Import glTF Models into Godot 4 (2026 Guide)
June 24, 2026 · 3 min read · Written by the Grab3D team (About us)
Godot 4 treats glTF as its native 3D exchange format: no plugins, no converters. Importing a Grab3D model usually takes one drag and drop. Here is the clean way to do it, which file to take, and the settings that save you headaches later.
Step 1: Pick the right file
Godot’s glTF importer reads plain GLB files, but not Draco-compressed ones. On Grab3D that is no issue: every download, including High Detail models and rigged characters, is a GLB without Draco compression. Only the 3D preview on our website uses Draco, and that file is not a download. So:
- Any model: take the GLB. Godot imports it directly, with materials.
- Alternatives: the FBX works too (Godot 4.3 and newer import FBX natively). The
.blendfile also works if Blender is installed and its path is set in Godot’s editor settings. - Busy scenes: where a model offers a lighter GLB (roughly half the triangles, 1K textures), it is easier on the GPU and a much smaller download.
If you shrink a GLB yourself later, for example with gltf-transform, don’t use Draco for Godot projects. Keep the original file instead.
Step 2: Drop the file into your project
Copy the file anywhere inside your project folder. Godot imports it automatically and shows it in the FileSystem dock. Select it to see its options in the Import dock. Double-clicking opens the Advanced Import Settings with a 3D preview.
Step 3: Use it in a scene
There are two common ways:
- Instance it directly: drag the file from the FileSystem dock into your scene. Best for models you might update later: replace the file, and every instance updates after reimport.
- Create an inherited scene: right-click the file and choose New Inherited Scene. You get an editable scene based on the import, so you can add collision shapes, scripts or lights to the asset, and it still follows the source file.
Step 4: Scale, materials, lighting
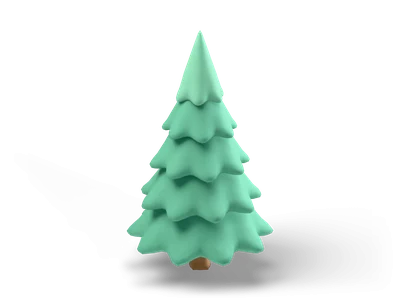
glTF is meters/Y-up and so is Godot. Our pine tree is 5.7 m tall and arrives 5.7 units tall, no adjustments needed. The PBR textures embedded in the GLB (base color, roughness, metallic, normal) land on a StandardMaterial3D automatically. Low poly models use a small palette texture that imports the same way.
Two things worth knowing:
- Palette textures: low poly models color their faces from a tiny palette texture. If colors smear at the facet edges, set the material’s texture filter to Nearest.
- Root type: the Import dock lets you change the type of the scene’s root node. That is handy when the imported model should become a physics body instead of a plain
Node3D.
Adding collision
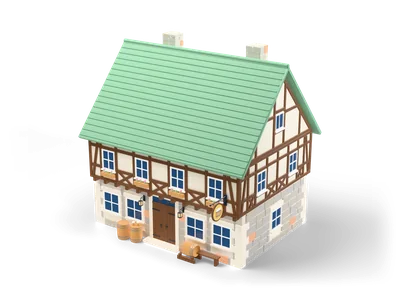
In an inherited scene, select the MeshInstance3D and open the Mesh menu in the 3D viewport toolbar. There you can create collision shapes from the mesh: a convex shape is the cheap choice for crates, barrels and rocks, while a trimesh shape follows the exact geometry and is meant for static objects such as buildings. The exact menu entries differ slightly between Godot 4 versions. High Detail meshes are dense, so build collision from simple shapes rather than from the full mesh.
Rigged characters
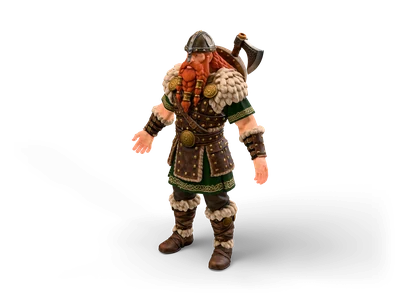
Rigged models ship with in-place walk and run clips. Import the rigged GLB (or the rigged FBX in Godot 4.3+). After import, the clips show up in the scene’s AnimationPlayer. Call play() with the clip name from a script, or wire both clips into an AnimationTree for blending. The rigged character guide covers looping, blending and the limits of the rig.
Performance tip: MultiMesh for forests
Placing 500 trees as individual nodes will hurt. Put the pine tree mesh into a MultiMeshInstance3D and Godot draws all instances in very few draw calls. Check the triangle count on the model page first and pick the lighter file where one exists, because mass placement multiplies every triangle.
Try it with a free model from the library: from download to walking around your scene in a couple of minutes.